Logging In
You will receive an email notice of your Drupal account activation. It will include your username and a one-time login link. Use the link and then click the "Use the one-time login" button to login and create a password in the "Password" and "Confirm Password" fields.
Remember to click "Save" or your password will not be set.
In the future, you can login to the admin area of your site at at http://your-site-url/cacsdrupal/login (for example, http://cacs.virginia.edu/cacsdrupal/login).
Note that your account belongs to you, and only you. Do not share your account information. If others need access, request accounts for them.
Forgot your password? Go to your /cacsdrupal page (i.e., http://mysite.virginia.edu/cacsdrupal) and click on the tab 'Request New Password'.
To add a new piece of content (e.g. page, news item, etc), use the Admin menu to go to Content -- Add Content.
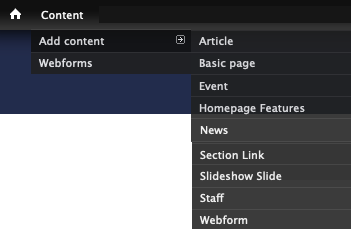
Select which type of content to add and then begin creating it! Create your page (or other content type) by completing the fields provided.
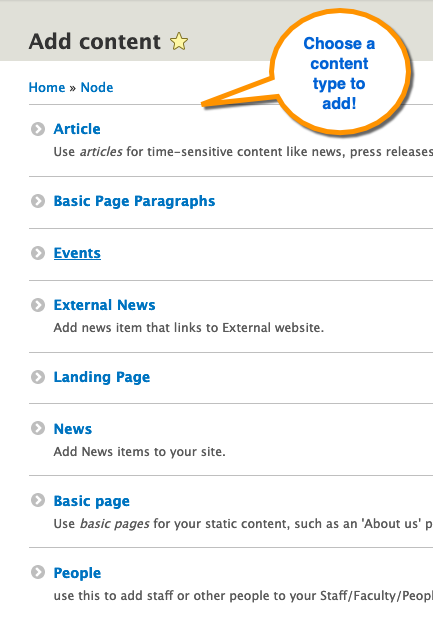
When adding or editing content, you will see a page with associated fields and settings. Fields with a red asterisks are required. During your training, the proper creation of content types will be explained, as this is generally site and content type specific.
Landing Pages have a Masthead/Banner image field with a recommended size of 2000x800.
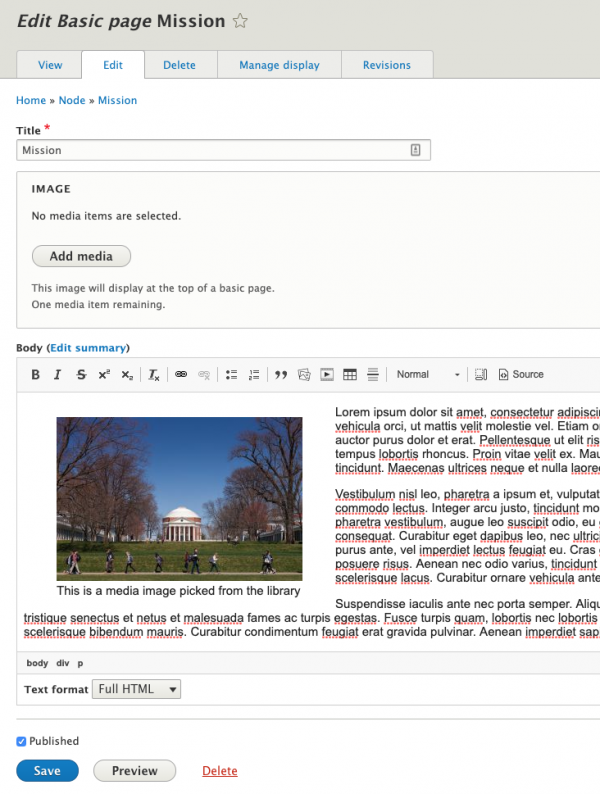
When editing body content, you will use a WYSIWYG (what you see is what you get) editor. This frees you from having to write any code and offers an interface similar to a text editor. Use these buttons for format content.

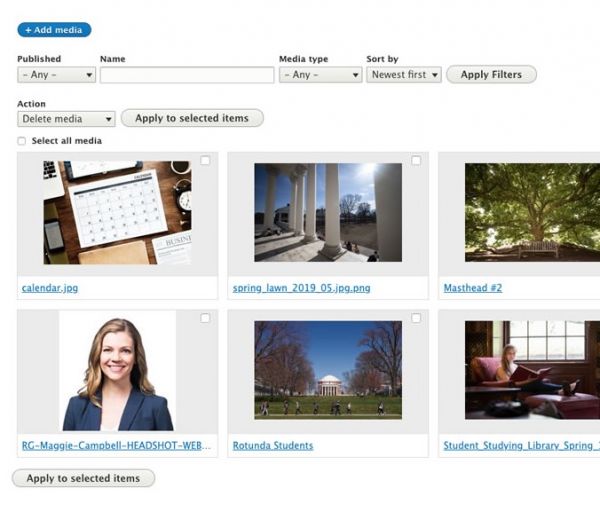
Most Media can be found on the Media page (Content > Media).
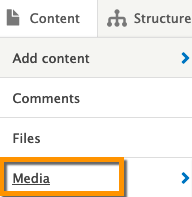
You will add media once to your Media library, and then can select that media to be displayed anywhere on your site.
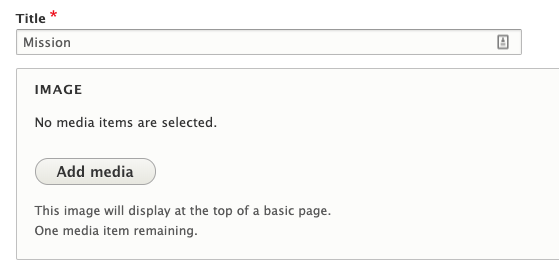
If you are editing a piece of content, there may be an image field where you can add media to your library AND your content and the same time:
To add images in the WYSIWYG editor, click the "Image" icon.
Important: the WYSIWYG editor/file upload works best in Chrome, Firefox and Safari. Avoid Internet Explorer if you are adding images and/or files to your website.
Now you can either upload a new image or choose existing media from your library. To upload an image, fill out the fields in the Media popup, and click 'Choose File' under Image.
This allows you to choose a file from your computer and upload into your Drupal library and page.
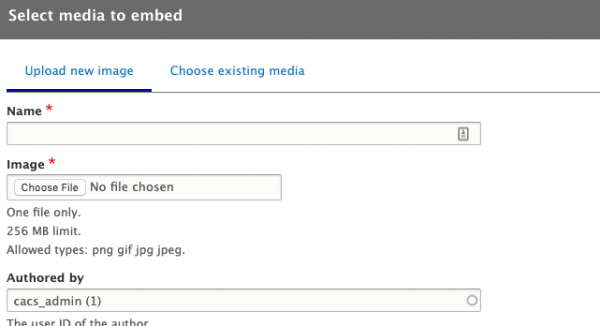
Important - be sure to fill out descriptive Alternative text describing the image. This is helpful for individuals that use screen readers to browse web content.
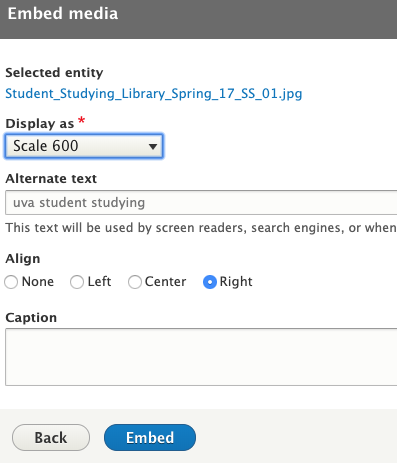
Once your image is displayed in the popup, fill out other fields as needed, then scroll to the bottom of the popup and click 'Save Image'. On the corresponding screen, add a caption if you would like, then click Embed. Your image should now display in the Wysiwig field; scroll to the bottom of the page and Save your changes.
If the image is too large, you can use edit the media (double click the image to bring up the Embed Media popup) and choose an alternate image style by clicking the 'Display As' dropdown. In this popup, you can also align your image to the left or right, respective to the text on the page. To finish, save your changes in the Embed media popup, and then again on the page itself. **Note - some styles will not work well with certain images because of portrait vs landscape widths.
To add links in the WYSIWYG editor: first, highlight the text or select the image you'd like to make a link.
Next, click the link icon in the editor toolbar.
This brings up the Add Link popup window.
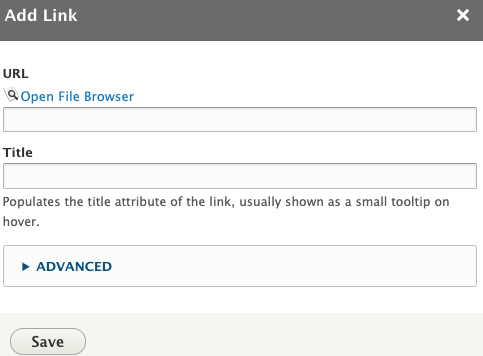
The URL field allows you to input a URL, an anchor in the text (to jump to a pre-defined area in the text), or an email. Most of the time you will use the "URL" link type. When linking to an external website, make sure to include https:// at the start of your link.
To link to another page on your website, use a relative URL. A relative URLs means using the part of the URL that comes after your home page. For example, if you are adding a link on the page "http://www.virginia.edu/example-page" to "http://www.virginia.edu/another-example", enter "/another-example" rather than the full URL. This is important because it ensures your site will work in any of our environments where the home page URL varies. It is especially important when you are first building your site in our DEV environment so that when the site goes live, the links are pointing to the live site and not the DEV site.
IMPORTANT: the WYSIWYG editor/file upload works best if using Chrome, Firefox and Safari. Avoid Internet Explorer if you are adding images and/or files to your website.
To add files in the editor, first, highlight the text that will become the link. Next, click the Link icon.
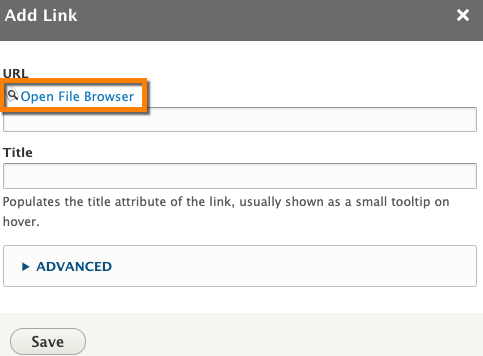
Click the 'Open File Browser' link displayed in the popup.
If the file you want use already exists, select it in the right column and click the "Select" button.
If you need to upload the file, click the "Upload" button and progress through the prompts to upload your file.
Once it is displayed in the right-column list, select your file and click the 'Select' button in the popup menu.

Click the Save button to insert your file into your page, then scroll to the bottom of your page and Save again.
There several ways to access content on CACS-built websites, the Edit Tab, Edit Links, Gears, and the Content Overview page.
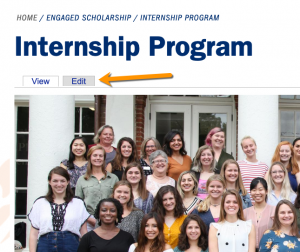
Edit Tab
The Edit tab is available on all pages and some other content types.
Edit Links
Many pieces of content have Edit links built in so that you only need to browse to the page with that item and click Edit.
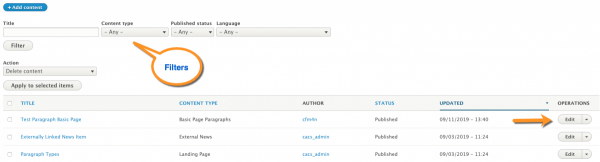
For a comprehensive list of content, click on "Content" on the admin menu
To quickly find the content, use the filters under the + Add Content button to search by keyword or show content of a certain type or status. To edit content, click the "edit" link at the right of the content. Clicking on the content title will take you to the content's page, not the editor.
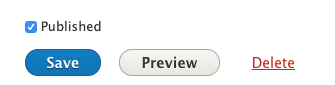
Once you finish creating or editing content, scroll down to the Save button and press Save. If you just want the world to see it be sure the Published option is checked. If you need to keep working on the page before others see it, uncheck the Published option.
Revisions
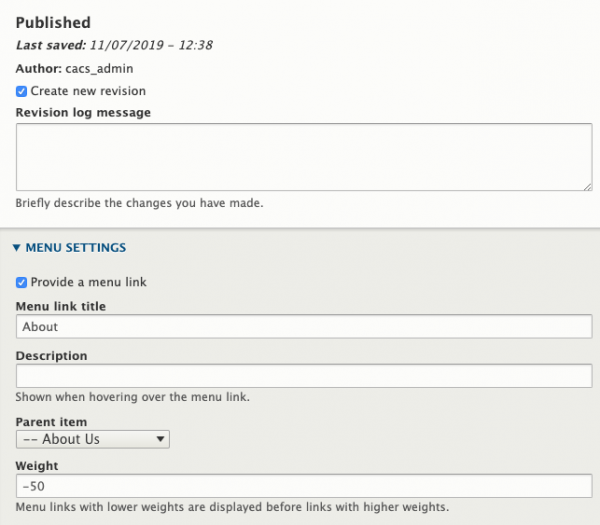
The settings menu on the right side of the edit screen provides options for revisions, menu settings, and URL Alias.
Use the Revision log message to leave a note about what you changed. If you need to roll back to an earlier version of your page, this will help you know what changed when.
Add Page to Menu from Page Edit Screen
Under Menu Settings, check "Provide a menu link" to include this page in the menu. The link title defaults to the page title; however, you may change it here. Choose the parent item if the current page should go under another page in the menu (e.g. People under About).
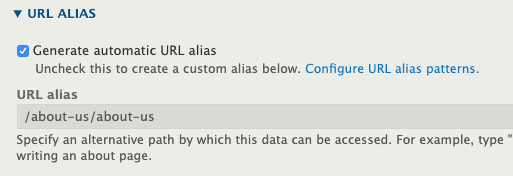
URL Alias
The "URL Alias" tab allows you to manually change the URL for this content. Drupal automatically builds the URL based on the content title, so if you want it to be something specific, uncheck "Generate automatic URL alias" and supply your own.
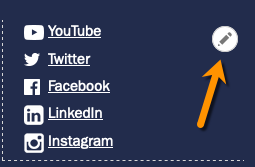
To edit the main navigation menu, go to any page on your website that contains your main navigation menu; hover over the menu, and click the Pencil icon that appears in the upper right and select "Edit menu."
Alternatively, you can use the Admin menu - Structure > Menus > Main Navigation.
This shows you all the navigation items for the main menu of your website. You can drag and drop navigation items to reorganize, enable/disable items, and if you'd really like, delete items. Click Save after any changes.

To add a link to the menu, you can either "Add a menu item" when editing a specific content page (the recommended way) or click the "+ Add link" button on the "Main menu" link list page.
When clicking the "+ Add link" button, you will go to a page with the necessary fields. Provide a "Menu link title", which will be displayed on the navigation menu. You also must provide a path. This can be a full link to an external website or a relative link to a page within your website. Once complete, remember to click "Save".